Mosaic
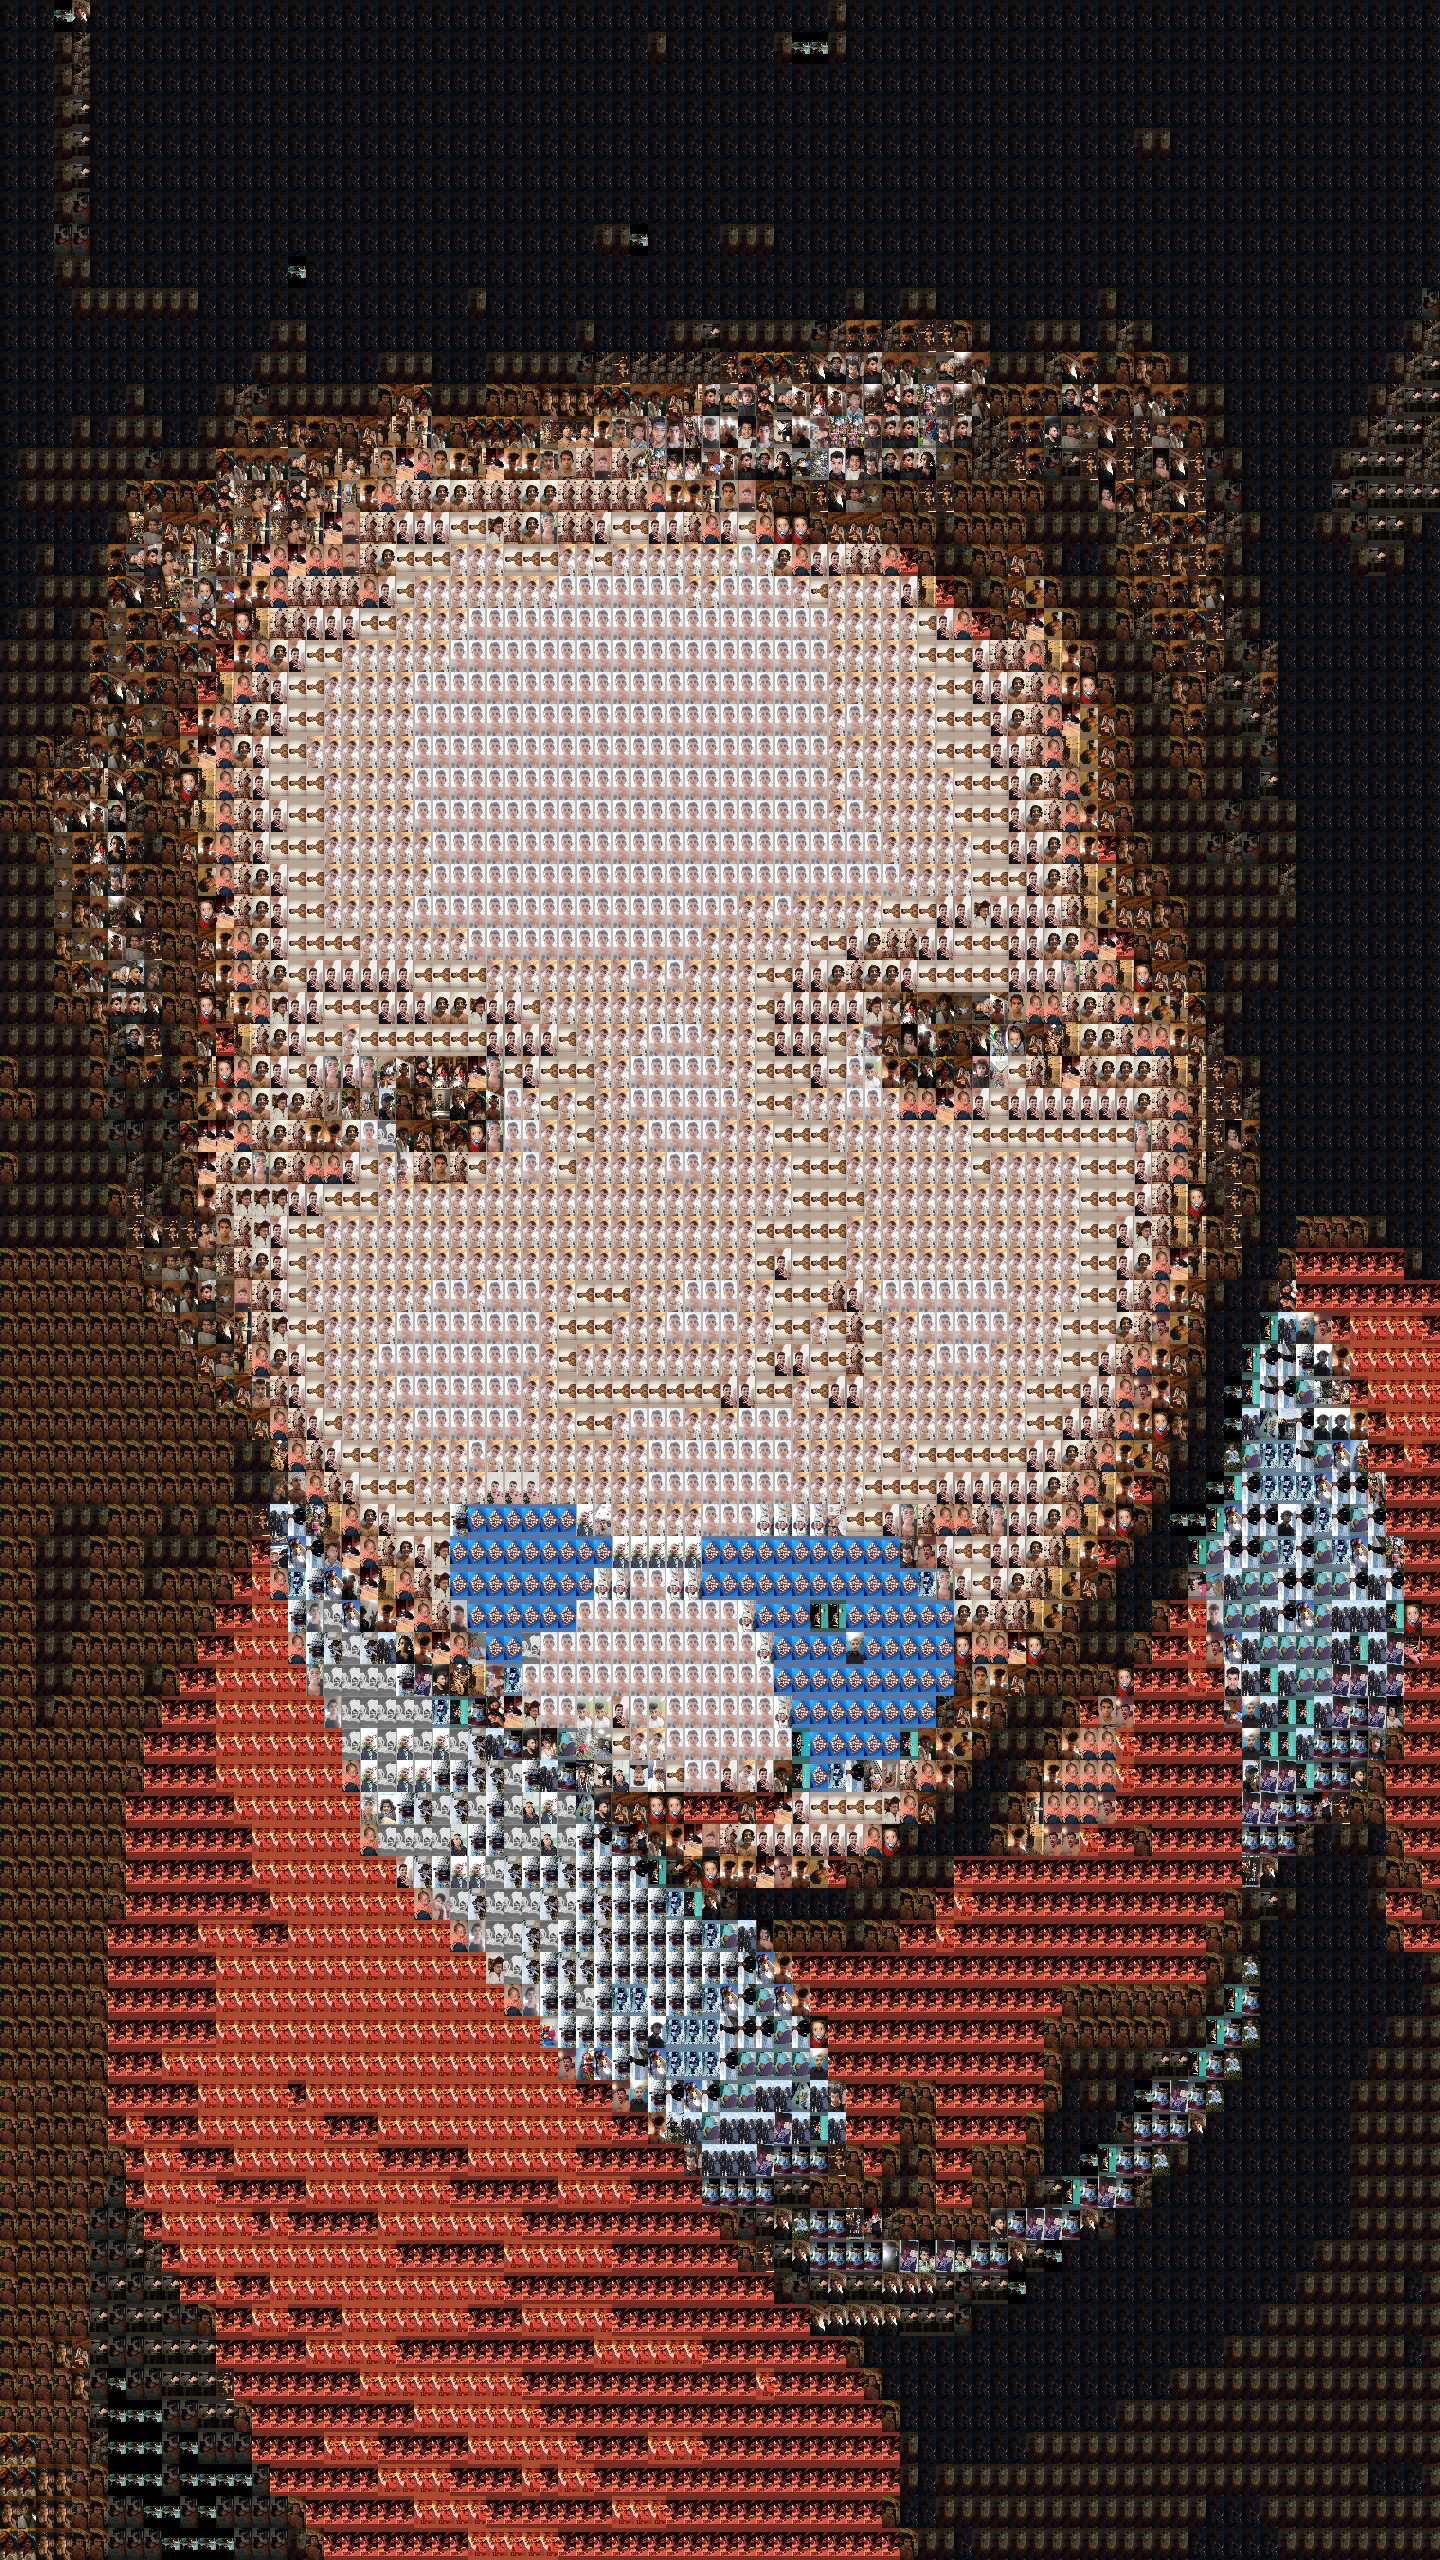
Before I start talking, here a few examples.

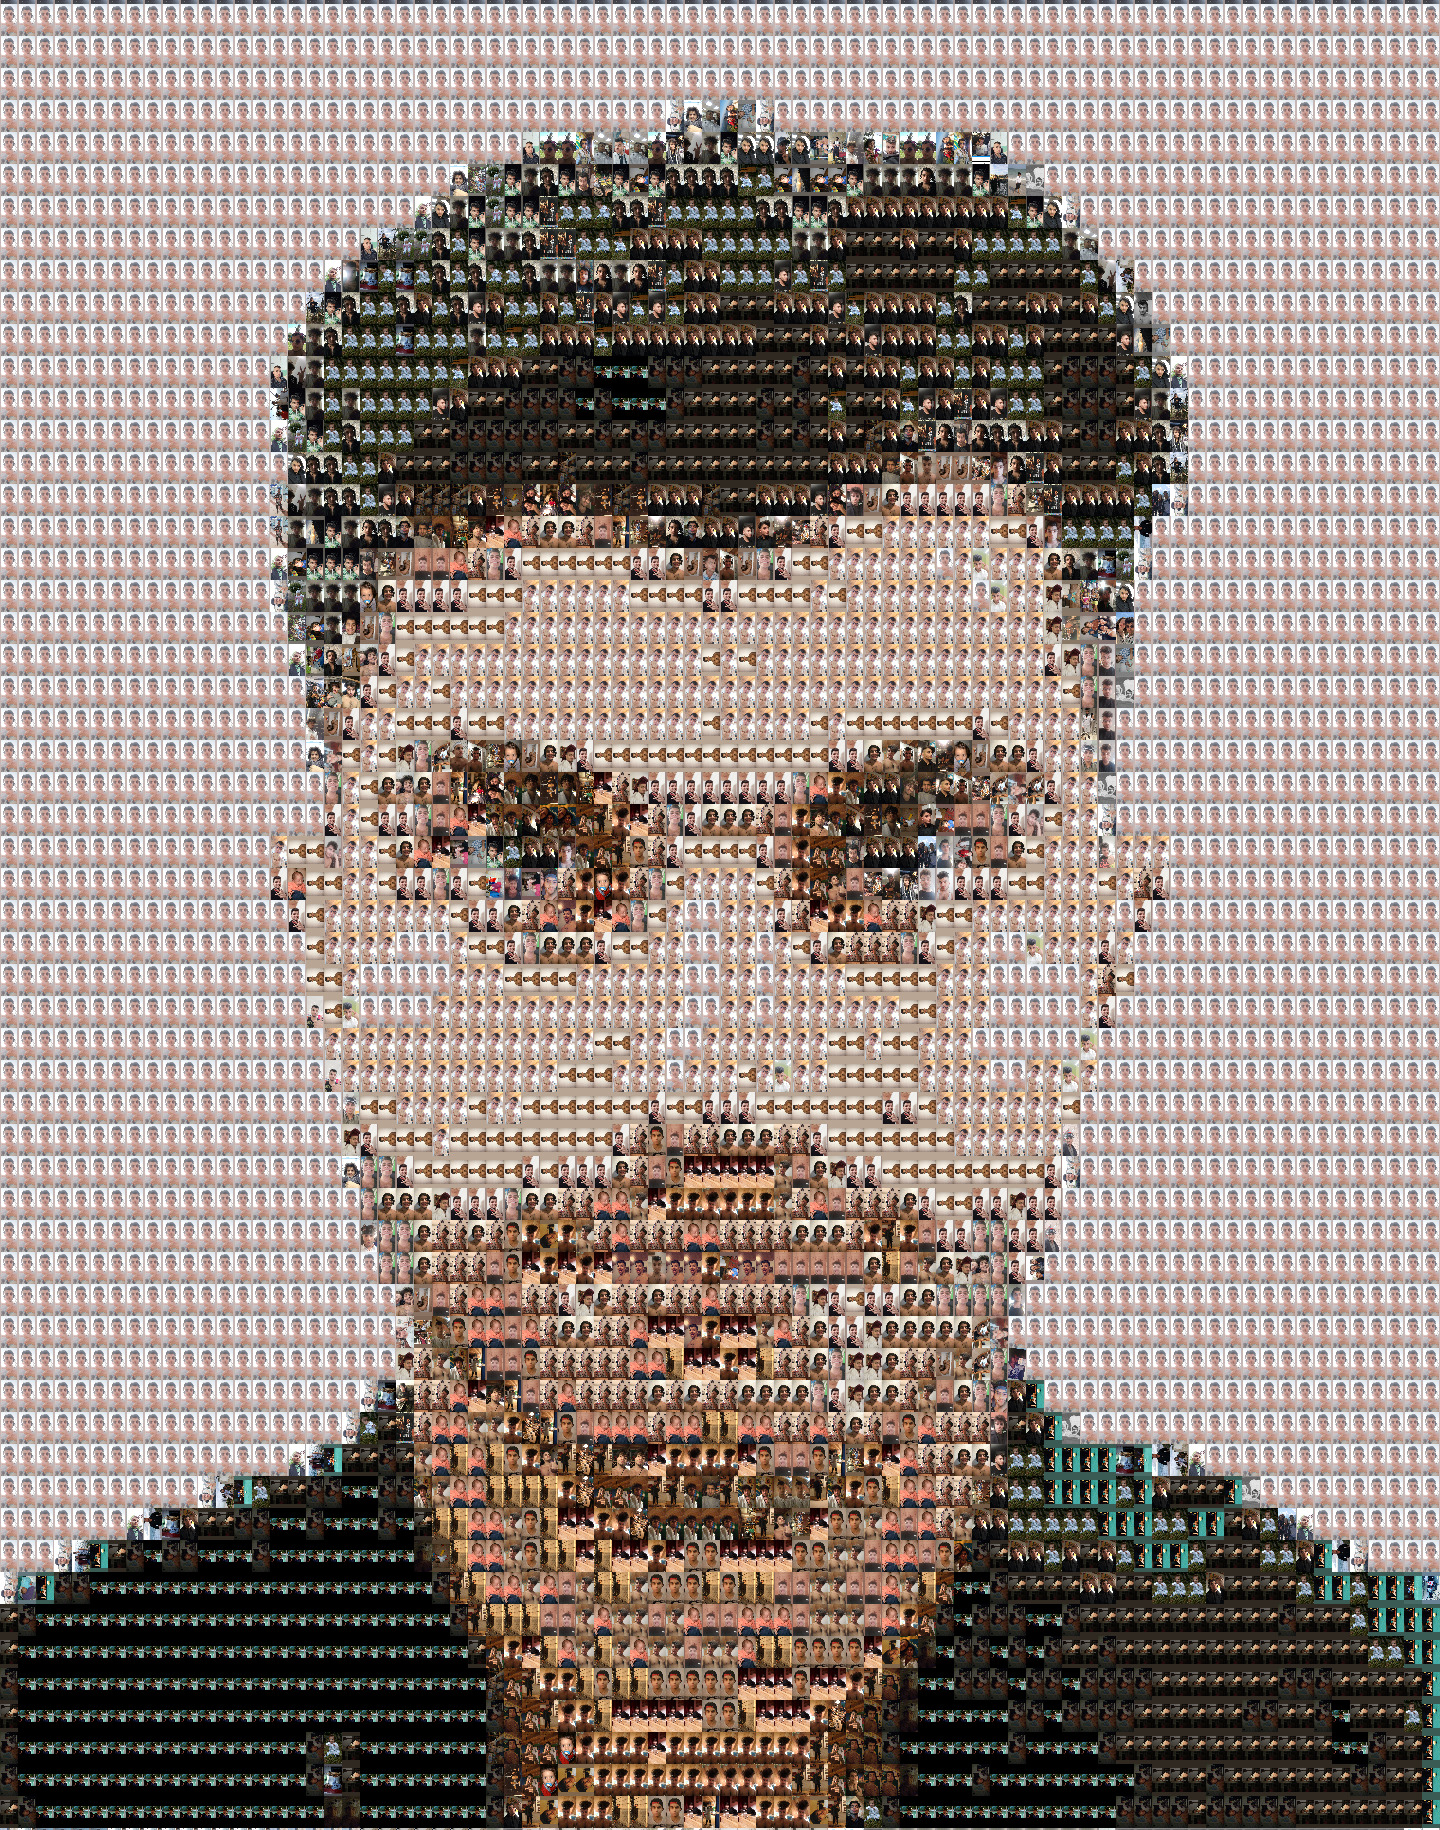

What is a photo-mosaic? As one can observe it is nothing more than a collection of images arranged such that when looked at from a distance they appear to display a single image. I don't know how "professional" photo-mosaics are done (if such a thing even exists), especially whether they consist of unfiltered pictures or not. But for those who care, here are some of the steps I took to create a program which outputs pictures like the ones above.
"Pixelizing"
What do we want to do? We want to take an image, create a version of it in lower pixel resolution and
then replace these low res pixels with other images. I call this first step of creating a low res
version of the target image "pixelizing".
Whenever you look at an image on a computer you are really looking at a grid of pixels, where the
density of pixels (pixels/screen-area) corresponds to the resolution of your monitor. The only thing
happening
during pixelizing, is that a grid of the same rectangular size is created, where the individual pixels
are way bigger. In fact they are so big, that if you were to put an image into them, one could still see
the content of said image. But before inserting an image into these newly created big pixels, I want to
fill the big pixel with the average color of the area it covers in the original
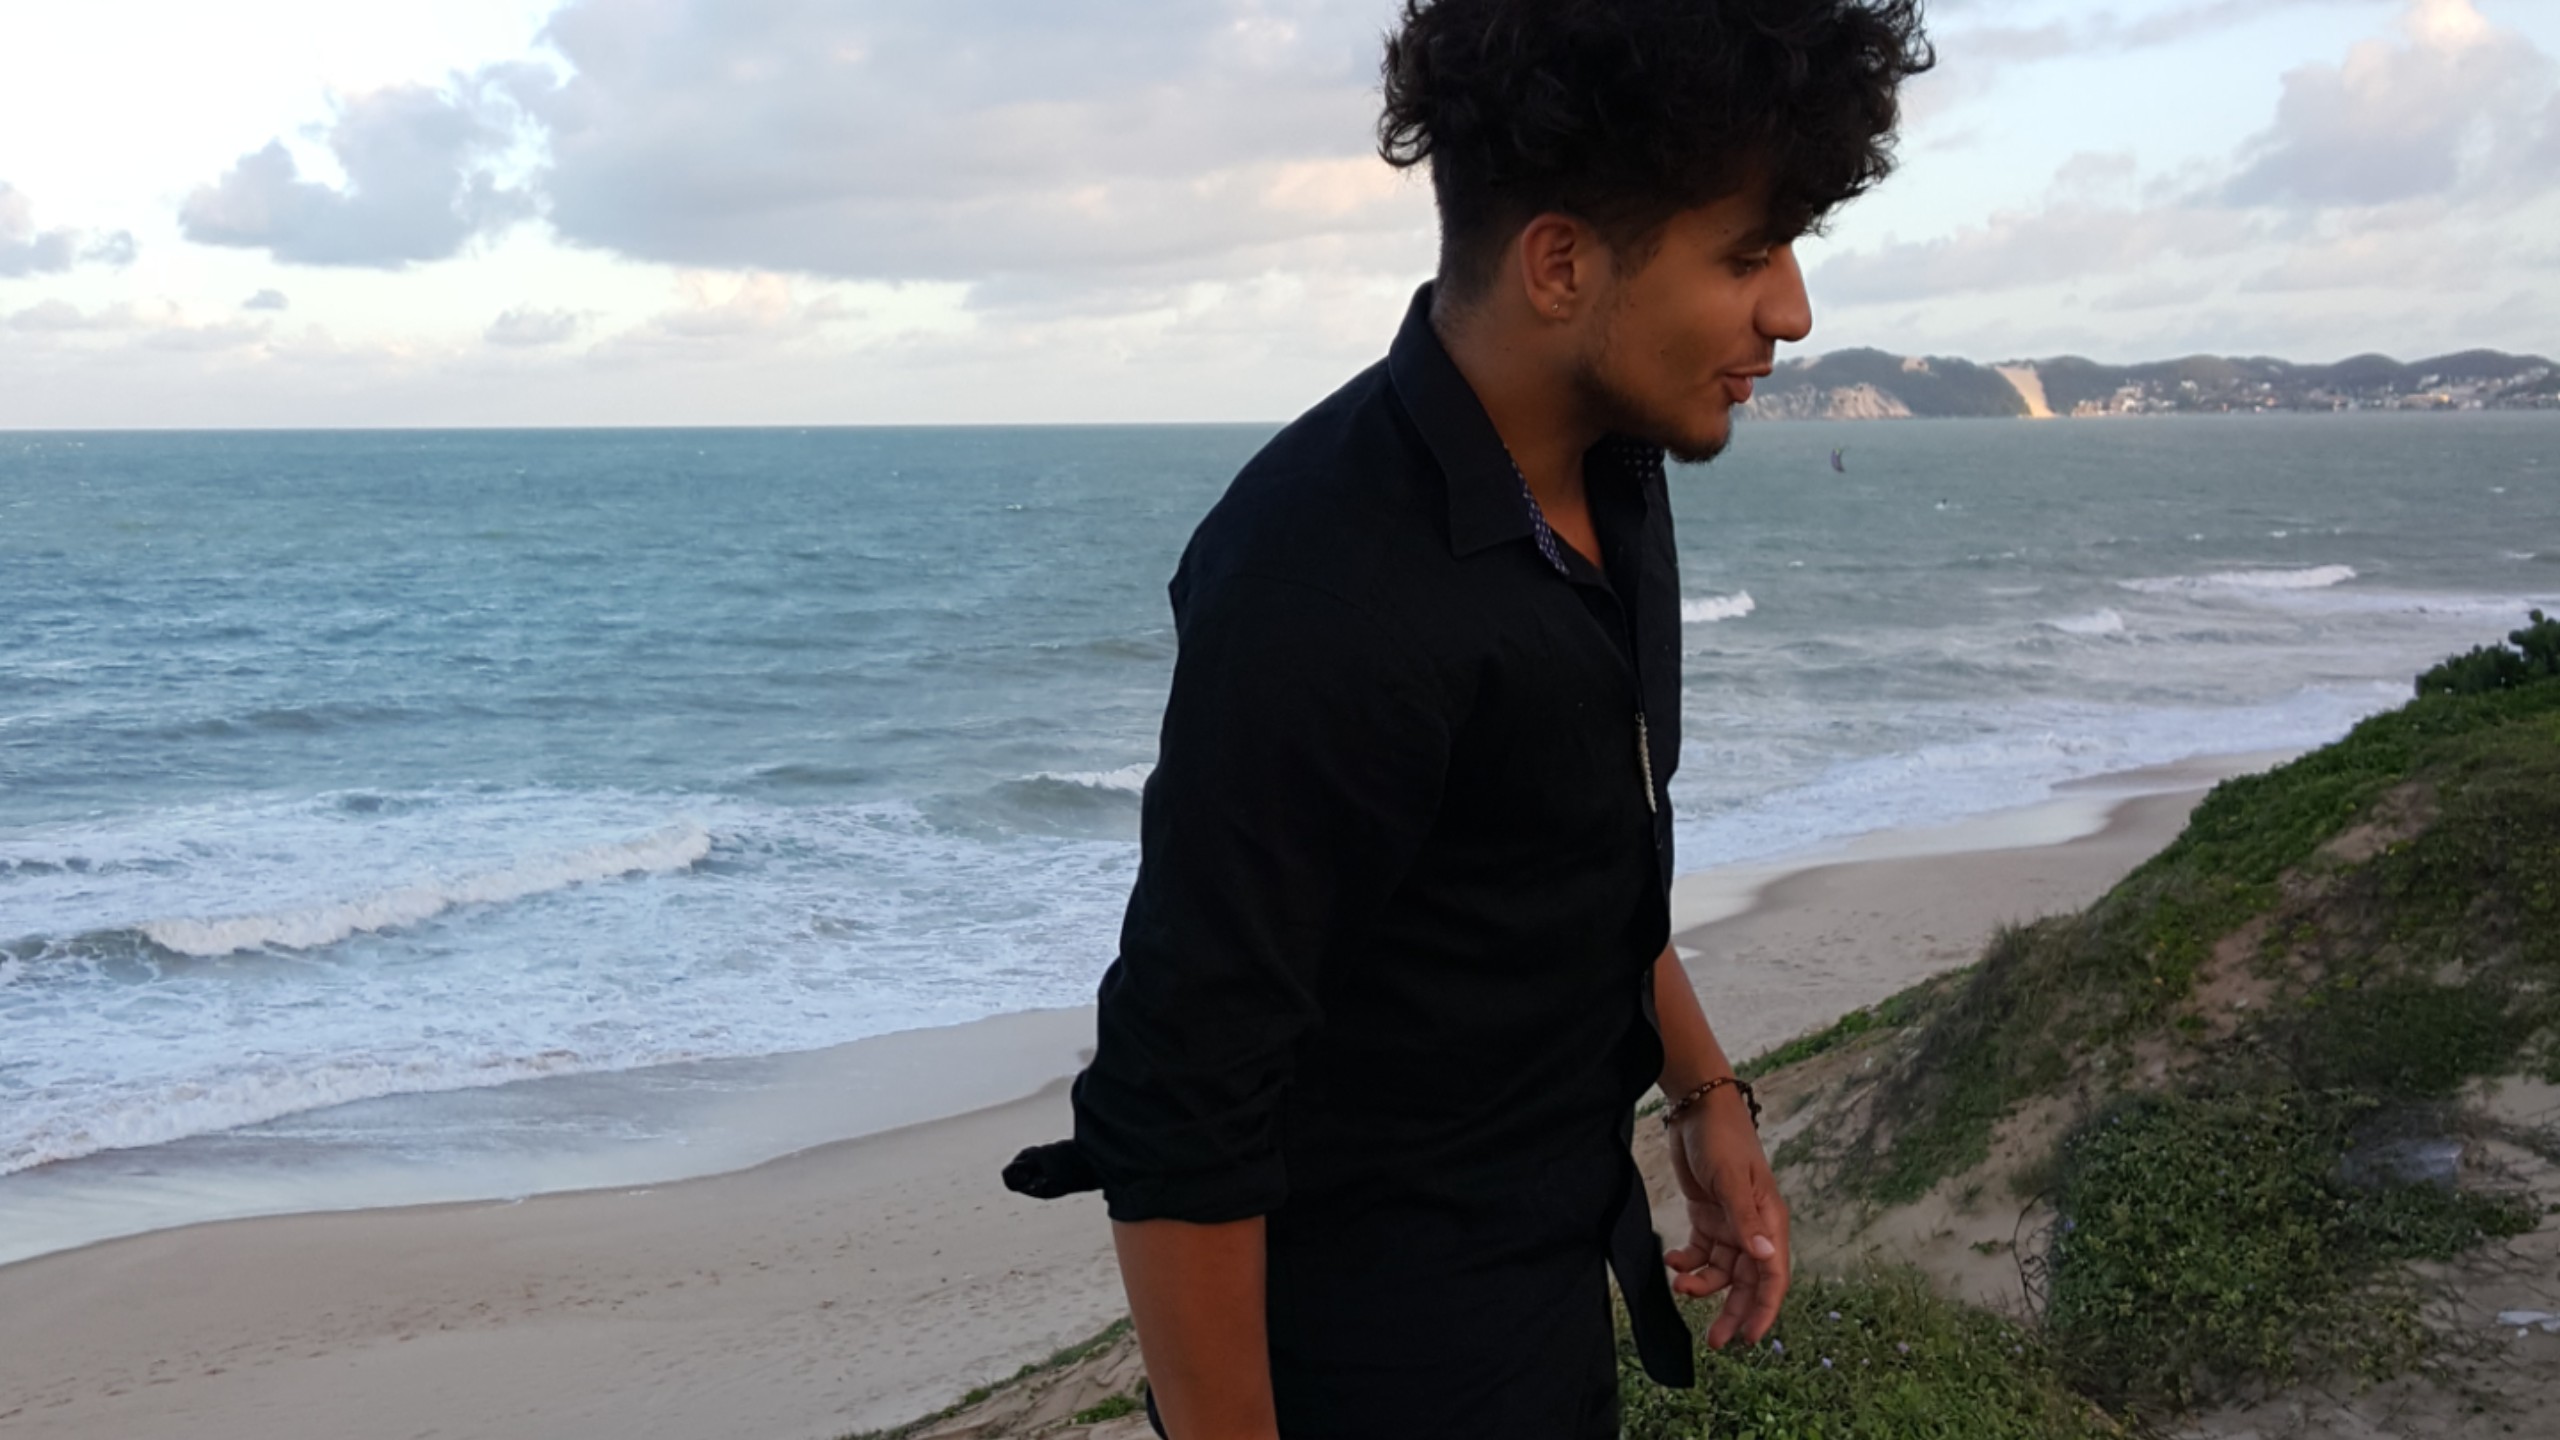
findCol is responsible for finding the average color of the area specified by x0,y0,sX,sY. A convenient way to characterize pixels is by their RGB (red,green,blue) value. So to find the average color of a certain area findCol loops over all pixels in that area, adds their r,g and b values to three different counters and finally computes the average r,g and b value by dividing the counters by the number of pixels in that area. The result of pixelizing the image on the right(with 40*40 subdivisions) looks like this:


Preparing the picture collection
The real meat of the algorithm is where we replace our newly found pixels with images. Now obviously, this step requires a considerable collection of images. But how many? And what properties should they have? I have read on the internet (source: trust me) that about 100 to 150 should suffice. Personally I think the number itself doesn't matter too much, what's more important is that a broad spectrum of colours is present. Because it will do you no good if you have a thousand black and white images if you want to create a photo mosaic of a red rose. I gave the algorithm around 140 pictures to work with, but if their colour spectra had been more diverse a lot less would have yielded the same or even a better result.
With the goal of replacing the pixels with images in mind, we need to figure out which image from our image
collection fits the pixel to be replaced best. My assumption was and is, that the optimal picture to
replace a certain pixel, is the one whose average colour is nearest to the pixel. So essentially, we
just have to go through the whole picture collection and search the one most similarly coloured. But how
do we "go through all images"? We need a little database. The easiest implementation I came across was
using a json file, which is a "data interchange format". Simply put it allows you to save stuff into a
file of a certain format and easily retrieve stuff from that file again. So I wrote a function which
does the following:
1.) Get an image from the image collection
2.) Pixelize it (as described above)
3.) Extract its RGB values using built-in functions from Processing
The important section of this function take the following form:
Approximating pixels with images
Now comes the fun part. As one can see in the above code snippet, we have now created a json file in which the RGB-values of every image in our image collection is stored. The search for the best suitable images to replace our pixels may begin. As it is often the case in optimization problems, we are interested in minimizing a distance. What distance? The distance of the RGB-Value of a certain pixel and the RGB-value of a candidate image from the picture collection. Now picture a 3D-coordinate system and replace x y z with red green blue. Two colours represented by RGB can now be seen as two points in this 3d space and the distance function emerges naturally. With this in mind it is hopefully clear how my function approximate finds the best suitable image for each pixel.
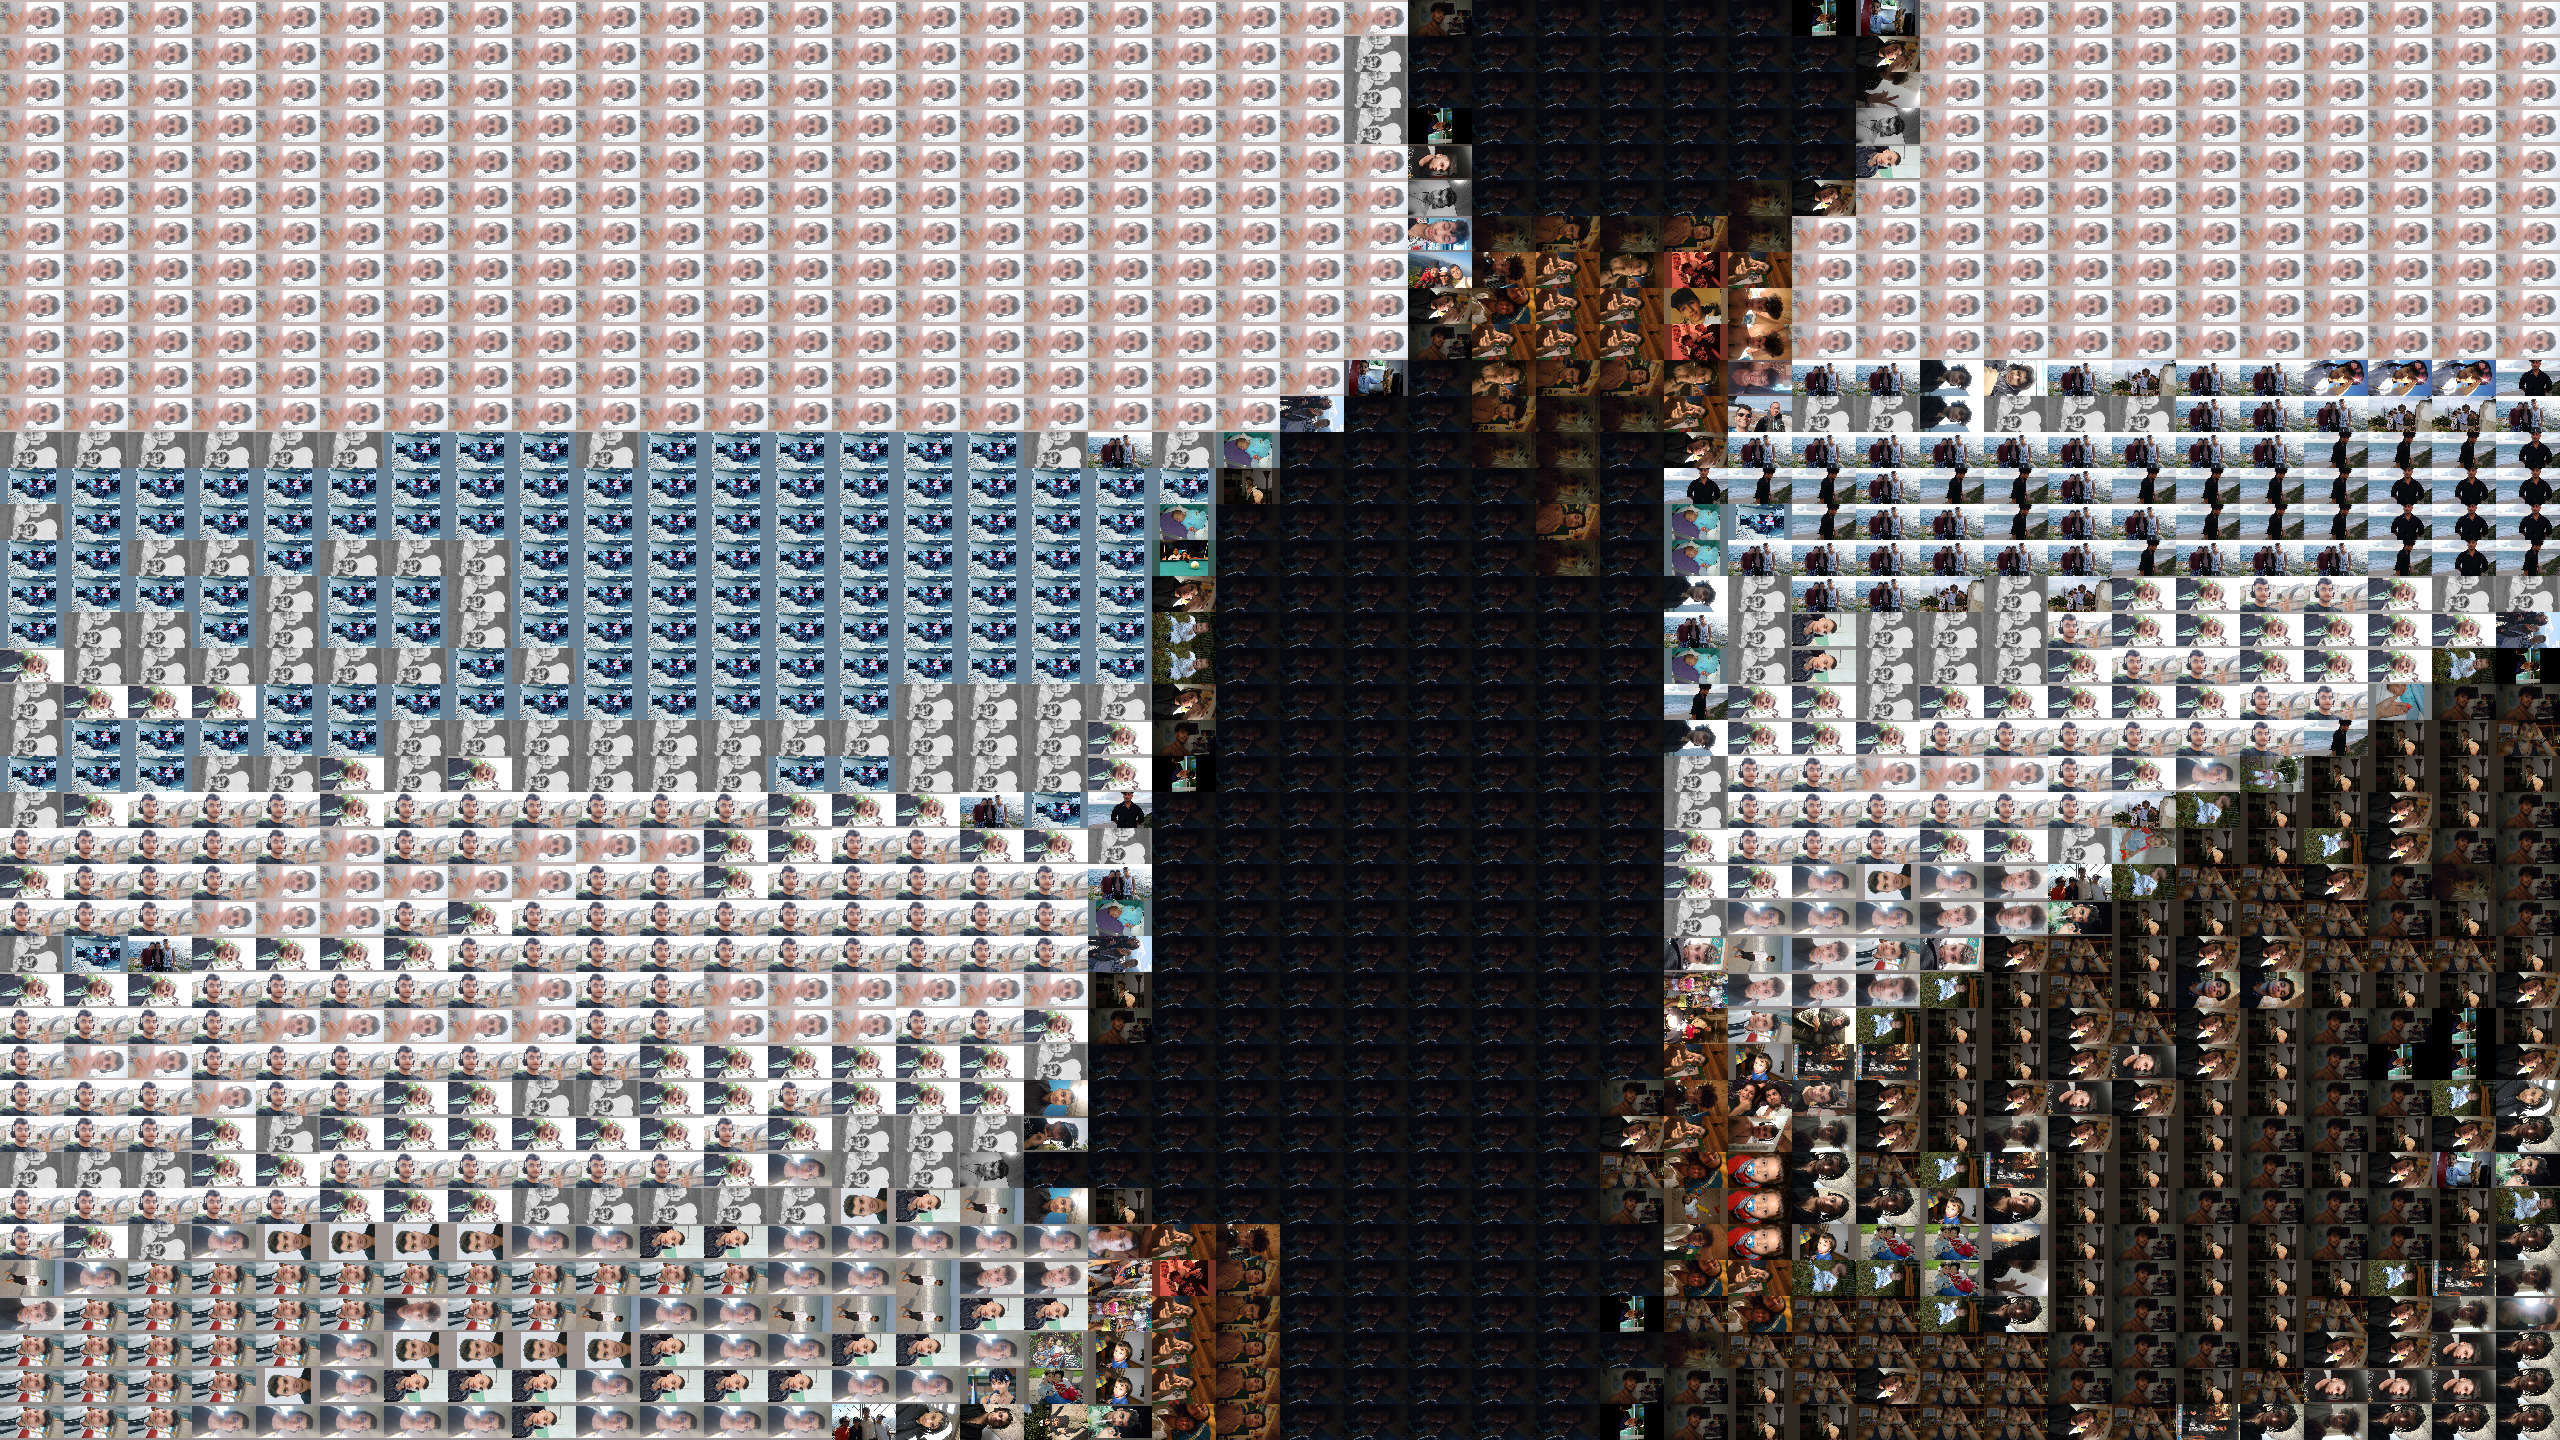
Now we have found the optimal replacements for our pixels. The only thing left to do is to place all newly found images where they belong. After having done so our "mosaiked" target image looks like this:

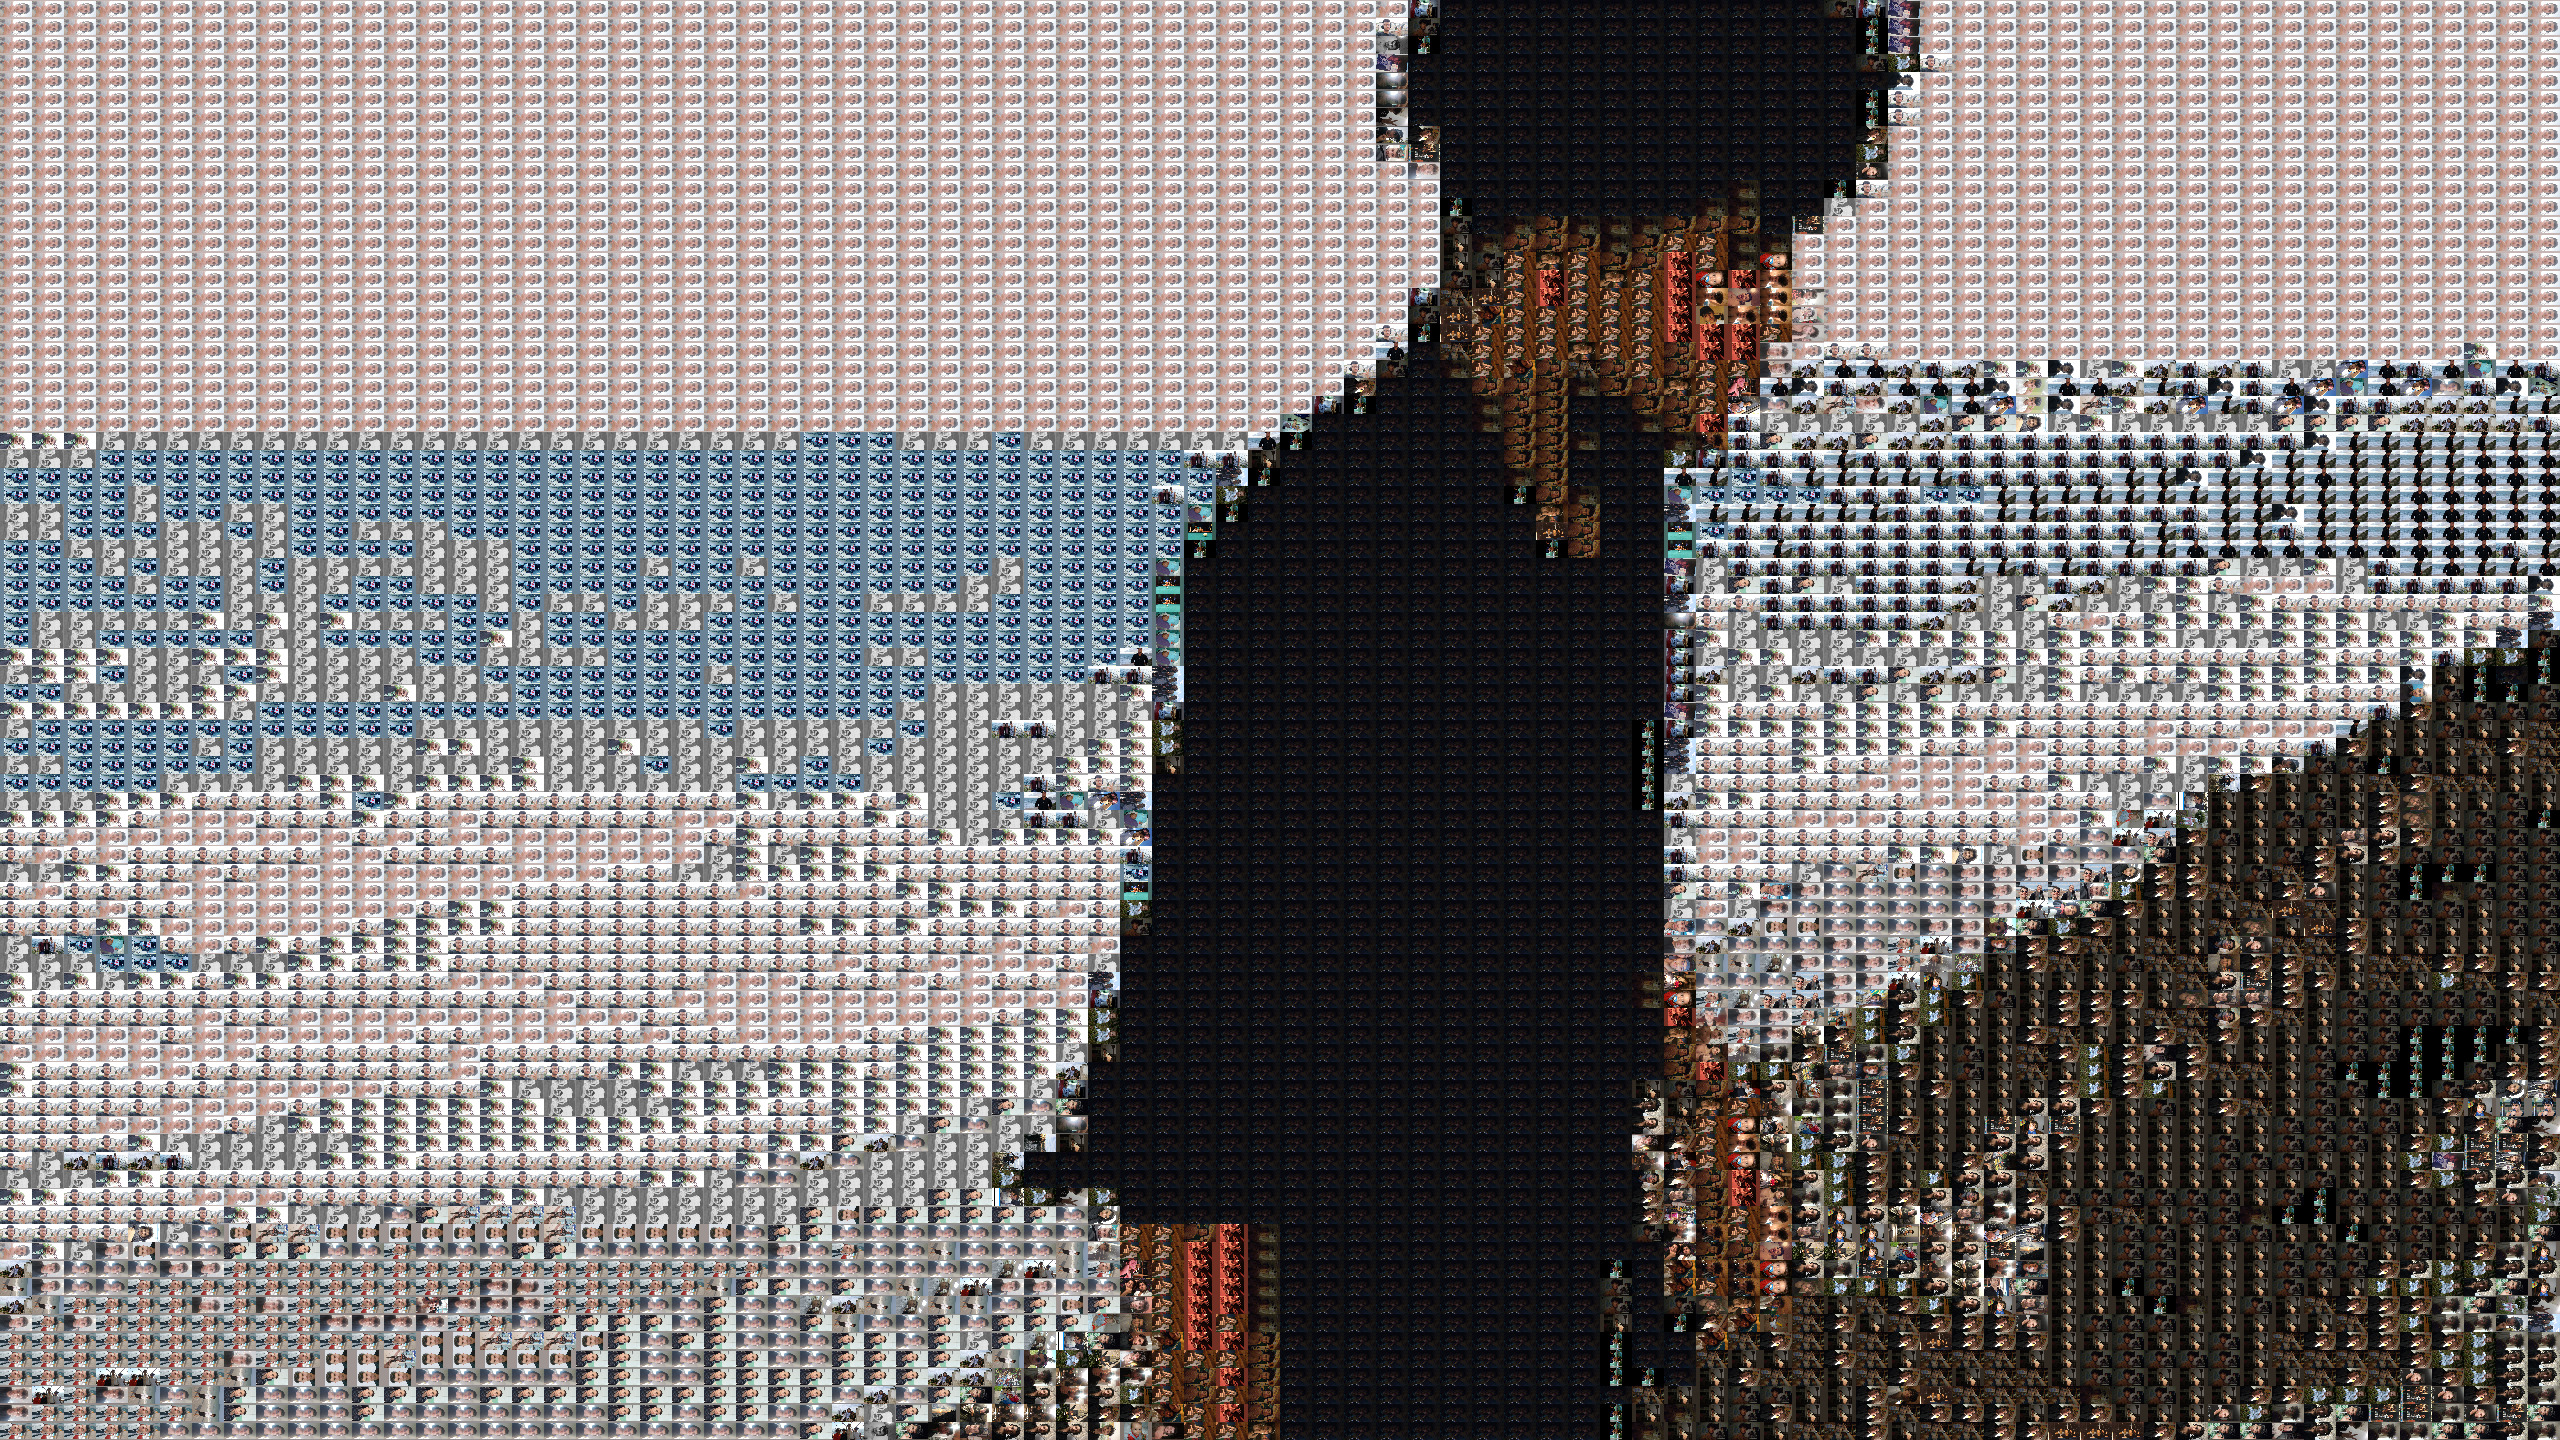
If you now download this image or zoom hard you will see that it is indeed made up of small pictures of myself. As mentioned above this is a partitioning of the image into 40*40 subdivisions. Choosing the resolution for these images is a balancing act between wanting the individual small pictures but also the single bigger picture to be still recognizable. 40*40 is on the lower end of this spectrum, i.e the bigger picture is not too sharp. Increasing the resolution to 80*80 yields:
How long does it take to mosaikize an image? That depends on the size of the image collection and the number of cores your computer has. The main bottleneck of the algorithm happens during the so-called setup(). This is the first function to be called when a Processing program is run and includes, well, setting things up. Generally one tries to initialize big data structures in setup, especially if you load pictures from the hard drive. The Processing function loadImage needs to be called for every image in the image collection and for roughly 240 images that takes about a minute. The approximating step takes a couple of seconds. Combined that may not seem like much, but if you want to tweak details in your code a low double-digit second waiting time can ruin your day and a minute is the stuff of nightmares. So I used parallel programming.
In parallel programming the workload is divided into chunks, the chunks are given to so-called threads which then work in parallel to get the job done. Picture a chef in a kitchen ordering a bunch of cooks around to prepare food for a 100 people. Now the chef himself in this scenario isn't even cooking, he's just organizing the people, scheduling them. Now imagine 8 chefs working in that kitchen, each one working with his team on preparing 25 plates. In a very idealized world, one could thereby achieve a speed-up of up to a factor of 8. Now obviously there is the problem of shared resources. It might very well happen that multiple kitchen workers need the same pans and/or unfinished meals at the same time. To ensure that the threads don't interfere with each other one must be very careful when giving them their data to work with. In my program then, the area of the image to be approximated is divided by the number of maximally allowed threads, which in my case was 8. This corresponds to my laptop having 8 cores. Each core can by himself work on a task, that means he can orchestrate a bunch of electrical cooks to execute my orders, so to speak. So each of the 8 threads needs to know the borders of his designated subarea and also where to save the information of which images he chose to replace the pixels in his area.
Introducing multi threading to my program led to a speed-up such that it now takes about one second to mosaikize an image. While I was at it, I also parallelized the imageLoading mentioned above which drastically lowered the waiting time before each test.
Another tweak saved me even more time. Initially I would select a certain image from the image collection, copy-paste it's name into the program and create a photo mosaic. As you can imagine, it can become tedious to do that for a lot of pictures, especially if you want to see how different resolutions look for each target image. So to satisfy my laziness I invested a couple of hours into altering the code such that once run it would create a photo mosaic for every image in the pool of target images. All that combined means that if I want to see how 240 pictures look in 3 different resolutions that takes about 12 minutes and 3 clicks to the run button.
I hope you have learned something useful in reading this, and I invite you to download my Code from GitHub and create your own photo mosaics!